A Bee-Friendly Balcony: Your Complete Guide to Creating a Buzzing Oasis
Hello there. If you’ve ever felt a pang of worry hearing about our struggling bees and wished you could do something to help, you’re in the right place. And if you’ve then looked at your own balcony – be it a tiny tiled square or a modest windswept ledge – and thought, “Well, what can I possibly do here?”, then I’ve got some wonderful news for you.
You can do everything. You can create a lifeline.
My first attempt at this was, I’ll admit, a bit of a flop. I bought a few generic “bee-friendly” plants, they flowered for a month, and that was that. It felt less like an oasis and more like a temporary cafe that had run out of cake. It taught me the most important lesson I’m going to share with you: we need to stop thinking about this as ‘gardening’ and start thinking of it as building a complete, thriving, life-saving ecosystem.
And you don’t need green fingers or a huge space. You just need a little bit of guidance. Let’s build a proper bee paradise together.
Quotables
- One balcony patch can host 5–15 bee visits per 10 minutes in summer.
- Queens burn energy fast — early nectar within 24–48 hours matters.
- Planting across three seasons extends feeding to ~180–220 days.
First, Reframe Your Goal: From ‘Garden’ to ‘Oasis’
Before we even think about plants, let’s get our heads straight. This isn’t about creating a show garden that has to look perfect. This is about providing a service. You’re essentially setting up a 5-star, all-inclusive resort for some of the most important creatures on our planet.
Think of your balcony, and all the other bee-friendly balconies in your town, as a network of connected service stations. You’re helping to build a pollinator corridor through your city, allowing bees to navigate the urban landscape. That small patch of lavender on your fifth-floor balcony isn’t just a pretty plant; it’s a vital refuelling stop on a much longer journey. It’s like a series of tiny, secret pubs for bees, allowing them to hop from one to the next. Clever, right?
So, let go of perfection. If a plant looks a bit leggy or a flower goes over, who cares? The bees certainly don’t. This is about function, life, and the quiet joy of making a real, tangible difference.
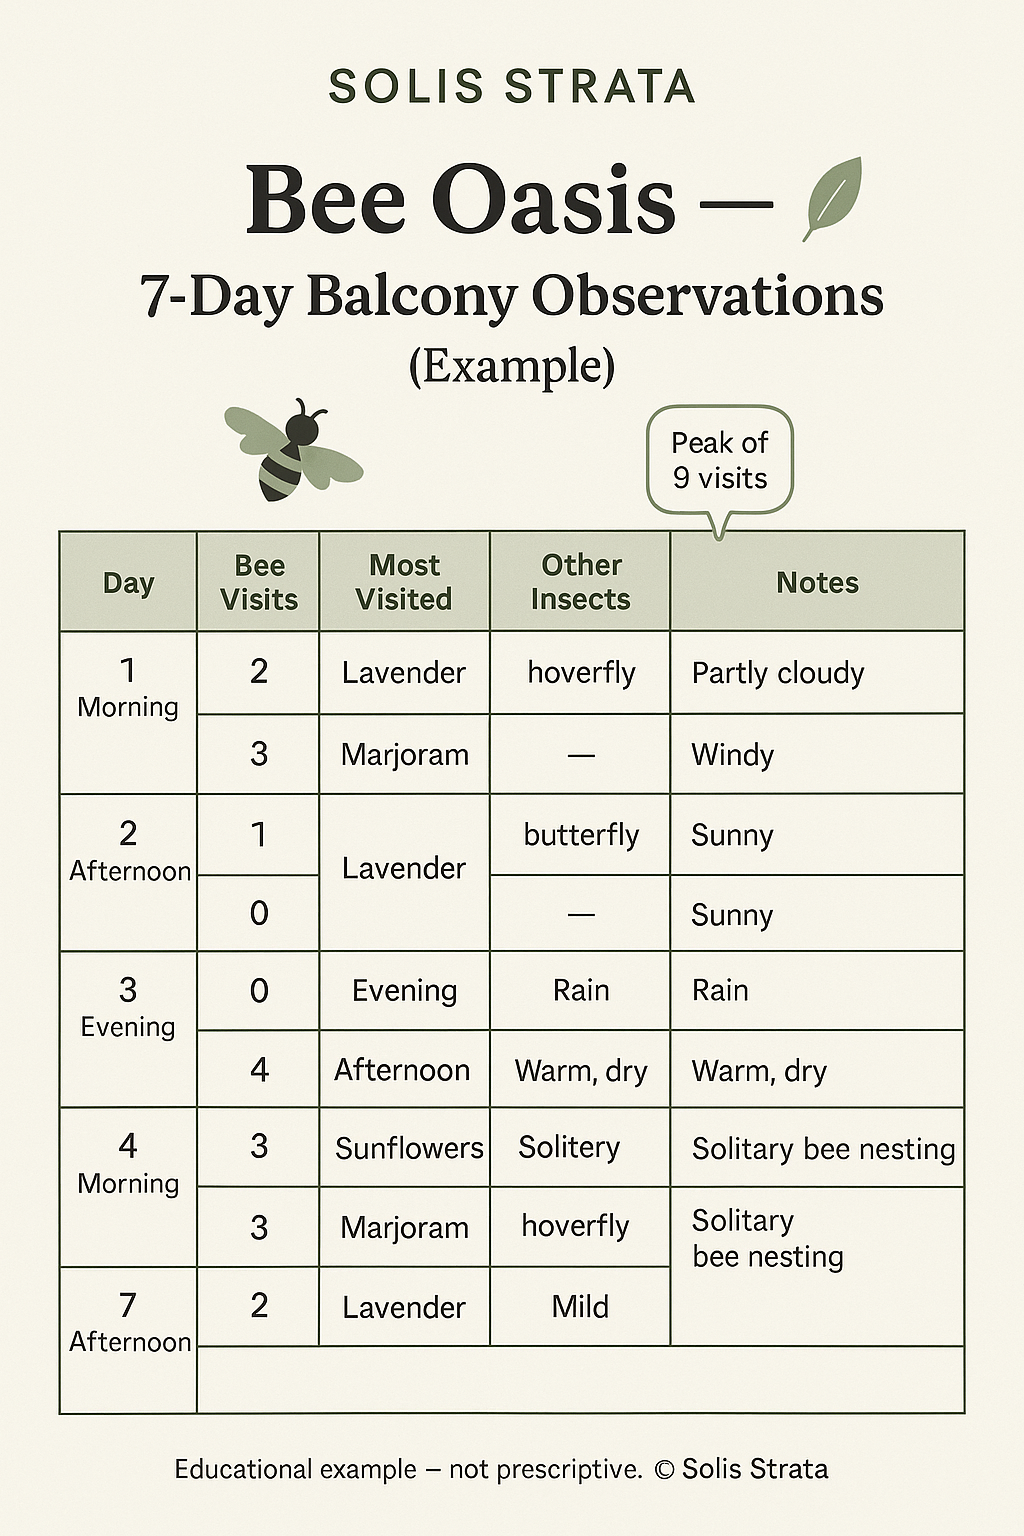
Methods & Evidence — An Observation Plan
Use this 7-day, light-touch plan to observe patterns and gently tune your balcony ecosystem. Timings and counts are illustrative, not prescriptive.
- Day 1: Timed watch (10–15 mins, midday). Log 0–20 visits; note sun/wind.
- Day 2: Morning check (08:00–10:00). Compare to Day 1; record temperature.
- Day 3: First-choice flowers. Note 1–3 plants bees pick first.
- Day 4: Diversity scan. Tally other insects (0–10): hoverflies, butterflies, ladybirds.
- Day 5: Water test. Refresh the “bee bar”; note 0–5 drinkers/landings.
- Day 6: Nesting cues. Watch stems/soil for solitary bee inspections (0–3 sightings).
- Day 7: Review & tweak. Move one pot 20–50 cm; adjust shade/wind shelter.
Illustrative Teaching Table
| Day | Time Slot | Bee Visits Counted | Most Visited Plant | Other Insects Seen | Notes |
|---|---|---|---|---|---|
| 1 | Midday | 7 | Lavender | 2 hoverflies | Busy and sunny |
| 2 | Morning | 3 | Crocus | 1 butterfly | Cooler, slower |
| 3 | Midday | 9 | Marjoram | 3 hoverflies | Strong activity |
| 4 | Afternoon | 5 | Cosmos | 2 ladybirds | Windy balcony |
| 5 | Midday | 6 | Primrose | None | Bee bar used |
| 6 | Morning | 2 | Ivy | 1 hoverfly | Solitary bee nesting |
| 7 | Midday | 8 | Sedum | 2 butterflies | Review notes |
Understanding Your Tiny Visitors
Right then, let’s get to know our customers. Not all bees wear the same stripy jumper, you know! In the UK, we have over 250 species, and they have different needs. You’ll mostly be catering for two main groups on your balcony:
- Bumblebees: The big, fuzzy ones. They are social creatures, and a queen finding your balcony in spring could be the start of a whole new local colony. They are the friendly blunderbusses of the bee world.
- Solitary Bees: These are the unsung heroes. Many don’t live in hives at all. They are gentle, efficient pollinators who lay their eggs in tunnels, like the ones you’ll make in your ‘bee hotel’. Red Mason Bees are a common and very welcome visitor.
You’re unlikely to get honeybees unless there’s a local beekeeper, as they travel less far. By focusing on bumblebees and solitary bees, you’re supporting the wild pollinators who need our help the most.
The Bee ‘Menu’: Planning Your Year-Round Buffet
A bee’s life isn’t just about lazy summer afternoons. Queen bumblebees emerge hungry in spring, and in autumn, colonies need late nectar to survive the winter. A true bee oasis provides a reliable food source from early spring right through to late autumn, according to Royal Horticultural Society guidance. A flash-in-the-pan summer display is nice, but it’s the long-haul buffet that really makes a difference.
Here’s how to think about your menu seasonally. You don’t need all of these, but a few from each category will make your balcony the most popular spot in town.
Early Spring (The Lifesavers: February – April)
This is the most critical time. Honestly, this is the one thing I never get wrong now. A queen bumblebee finding food now is what allows her to start a whole new colony.
- Crocus: Simple, open-flowered varieties provide easy nectar. Go for the species crocuses, not the big fat Dutch ones.
- Grape Hyacinth (Muscari): Best grown in clusters for both looks and utility. They’re a doddle to grow.
- Primrose (Primula vulgaris): A UK native, excellent for early foragers.
- Hellebores: The ‘Christmas Rose’ can flower right through from winter to spring. A truly magnificent sight on a bleak day.
High Summer (The Main Course: May – August)
This is the easy part! So many fantastic, sun-loving plants are perfect for a balcony buffet. The air will be buzzing.
- Lavender (Lavandula angustifolia): Hardy, fragrant, and a bee magnet. An absolute classic for a reason.
- Marjoram (Origanum vulgare): Both culinary and pollinator-friendly. Let it flower and watch the bees go barmy – it’s a key part of any unkillable balcony herb garden.
- Scabious (Scabiosa): Perfect landing pads with nectar-rich blooms. The ‘Butterfly Blue’ variety is a winner.
- Cosmos: Choose single-petal forms like ‘Purity’ or ‘Sonata’. The frilly double ones are all style and no substance for a bee.
- Viper’s Bugloss (Echium vulgare): A bit of a wildcard! It looks like a beautiful weed, but it’s one of the best bee plants in the UK.
Late Autumn (The Final Fuel-Up: September – November)
As other flowers fade, your balcony can become a crucial late-season haven. This is your chance to be the last pub open in town.
- Asters (Michaelmas daisies): Vibrant colour and nectar at the right time.
- Sedum (Hylotelephium ‘Autumn Joy’): Its flat flower heads are like a crowded dance floor for bees and butterflies.
- Ivy (Hedera helix): Often overlooked, but as the UK Woodland Trust confirms, its autumn flowers are vital.
- Rudbeckia (Black-Eyed Susan): These bring a splash of sunshine to an autumn day and provide a great final feast.
Expert Tip (Author’s Note): I underestimated ivy for years, treating it as a weed. But on my balcony, its late blooms turned out to be the single busiest spot for bees in October. Don’t overlook the humble climber—it can be a lifesaver.
Beyond the Buffet: Water, Shelter, and Safety
The Water Source (The ‘Bee Bar’)
Bees get thirsty! But they can drown in open water. Creating a safe bee bar is simple and non-negotiable:
- Get a shallow dish or plant saucer.
- Fill it with pebbles, marbles, or even small twigs.
- Add water so the stones are partly above the surface, giving the bees a safe place to land.
- Keep it topped up—especially on hot days. It’s a bit of a faff, but it’s worth it, as this pollinator water guide explains.
The Shelter (Ditch the Dodgy Bee Hotels)
Thing is, many commercial bee hotels are poorly designed and can do more harm than good. They’re often too shallow, use the wrong materials, and can attract predators or disease. It’s like a hotel that looks lovely but gives all its guests food poisoning. Better to make your own simple, safe alternatives:
- Bundle of Stems: Tie together a bundle of hollow sticks like bamboo, raspberry canes, or old sunflower stems. Make sure they are at least 15cm deep and closed at one end.
- A Log Pile: Even a small pile of logs or a drilled block of untreated wood provides nesting cavities. Drill holes of varying diameters (from 2mm to 10mm) to attract different species.
- Pot of Bare Earth: A pot filled with dry, sandy, peat-free soil is perfect for ground-nesting species. Leave it in a sunny, undisturbed corner.
Balcony Basics: The Nitty-Gritty for Success
- Know Your Microclimate: Track the sun, shade, and especially wind. A windy balcony is like a constant hurricane for a tiny bee. Use balcony wind protection tips to help delicate plants.
- Pots & Compost: Bigger pots are better as they don’t dry out as fast – a key lesson when you’re deciding what vegetables to grow in pots. And always, always use peat-free compost. Peat bogs are irreplaceable carbon stores and vital habitats in their own right, a fact backed up by the UK Gov peat guidance.
- Go Organic: No pesticides—ever. A small aphid population isn’t a disaster; it’s lunch for hoverflies and ladybirds, creating a balanced little ecosystem. Fretting about it is one of those common balcony gardening mistakes; you’re the custodian, not the exterminator.
If you want more plant inspiration beyond pollinators, try these ideas for year-round flowers for UK balconies.
Troubleshooting: “Help! No Bees Have Come!”
So you’ve built it, and they haven’t come. Don’t panic! I’ve been there.
- Be patient: Bees are creatures of habit. It takes time for them to find a new resource and mark it on their mental map.
- Visibility matters: From a bee’s-eye view, can they spot your blooms, or are they hidden behind solid balcony rails? A few taller plants or hanging baskets can act as a beacon.
- Consistency wins: The longer you maintain blooms across the seasons, the more reliable your ‘service station’ becomes. Word gets around in the bee community!
The joy is as much in the waiting as it is in the arrival. You are creating an invitation, and eventually, they will come.
Conclusion: Your Beautiful Rebellion
Your little oasis is a testament to the fact that anyone, anywhere, can make a difference. It’s a daily source of wonder, a connection to the pulse of nature right outside your window. It’s a quiet, beautiful rebellion against a world of concrete and glass. So go on, give it a try. I promise you, the first time a big, fuzzy bumblebee lands on a flower you planted, you’ll be absolutely chuffed.
Sources
- Royal Horticultural Society (RHS) — Plants for Pollinators (UK)
- The Wildlife Trusts — Guidance on ivy and late-season forage (UK)
- GOV.UK / Department for Environment, Food & Rural Affairs (Defra) — Peat-free gardening policy (UK)
- Bumblebee Conservation Trust (UK)
Disclaimer
This article is an educational example only. Use local guidance and your own judgement for your space.
The bees will thank you for it.
Bob is a UK-based teacher who brings his passion for simplifying complex topics to the world of small-space and container gardening. All his advice comes from years of hands-on experience, helping UK gardeners get the most out of their balconies and patios. You can read his full story on the About the Author page.