How to Hand Pollinate Vegetables in a Vertical Garden
I’ll let you in on a little secret: hand-pollinating your vertical garden vegetables isn’t just helpful—it’s often absolutely crucial for getting a proper harvest, mind you. After years of watching gardeners scratch their heads over beautiful, flowering plants that produce precisely nothing, I’ve learned that taking pollination into your own hands can transform your growing success from a bit of a faff to downright impressive.
Quotables
- Morning flowers are most receptive: aim for roughly 8–11am, when temps hover around 18–24°C.
- Mix pollen from 3–4 male flowers to boost fruit set consistency by a noticeable margin.
- Track outcomes: target ~5–8 pollinated flowers per plant each week for clearer learning signals.
Key Insights
- Right then, your biggest challenge will be identifying the right timing – morning pollination when flowers are fresh and dry gives you the best chance of success, doesn’t it?
- Thing is, focus on this one thing: proper pollen transfer technique – it’s not about speed, oh no, it’s about ensuring complete coverage of the female flower’s stigma
- Most vertical gardeners, bless ’em, underestimate how many flowers need pollinating – don’t just do one or two and hope for the best, aim for several per plant
- Honestly, the flower structure tells you everything – once you understand where the pollen lives and where it needs to go, the rest becomes straightforward
Have you ever meticulously tended your vertical garden, watching your squash plants flourish, only to be met with a disappointing lack of fruit? I know the feeling – it’s like nature playing a cruel trick, isn’t it? But don’t despair, because the solution, I promise you, might be simpler than you think: hand pollination. In this guide, I’ll walk you through the why and how of hand pollinating vegetables, particularly squash, in your vertical garden, so you can finally enjoy the fruits (or veg, as we say!) of your labour.
Understanding the Need for Hand Pollination in Vertical Gardens
Right, so, picture this: you’ve got this amazing vertical garden, all neat and tidy, plants climbing like they’re auditioning for a gardening magazine, bless ’em. Your squash plants are looking particularly lush, all green and glorious. But then…nothing. No squash. Zilch. Sound familiar? It’s enough to make you want to swap your trowel for a takeaway menu, isn’t it? This, my friend, is where hand pollination comes in. And trust me, it’s a game-changer. See, in a normal garden, bees and other pollinators buzz around, spreading pollen like tiny, winged delivery drivers.
But in a vertical garden, these little guys can struggle, poor things. It’s like trying to navigate a multi-storey car park – confusing and a bit claustrophobic, even for a bee, wouldn’t you say? Research from the Royal Horticultural Society shows that reduced pollinator activity in confined spaces is a real problem, particularly affecting crops that rely heavily on insect pollination. Plus, the airflow isn’t quite the same, you see. Pollen dispersal relies on a bit of a breeze, and vertical gardens, by their very nature, can restrict that airflow. Imagine trying to throw confetti in a lift – it’s not going to spread very effectively, is it? A bit of a barmy idea, really. So, the pollen just sits there, like a teenager on a Saturday morning, going absolutely nowhere. Knackered, perhaps?
The Science Behind Pollination Success
Here’s what’s happening under the hood: when pollen grains land on a compatible stigma, they germinate and form pollen tubes that grow down through the style to reach the ovule. This process, called fertilisation, triggers fruit development. Clever, right? In vertical setups, this natural process gets interrupted because the usual environmental factors—wind currents, pollinator movement patterns, and flower accessibility—are all compromised, sadly.
This is why knowing how to identify male and female flowers is absolutely key. On your squash plants, you’ll notice the male flowers have a skinny stalk, while the female flowers have a small, immature squash behind the blossom. Think of it like this: the male flower is the eager chap with the pollen, a bit like a postman with a very important delivery, and the female flower is the one with the potential baby squash, waiting for that pollen delivery. Pollination, basically, is plant reproduction – the birds and the bees, as they say (though in this case, it’s more likely to be you and a paintbrush, eh?). Without pollination, the female flower withers, and your squash dreams, well, they just go down the drain.
Author’s Note: I learned this the hard way during my first year of vertical gardening. I had the most gorgeous courgette plants you’ve ever seen—absolutely laden with flowers—but ended up with exactly three courgettes for the entire season. It wasn’t until I started hand-pollinating that I realised I’d been essentially running a very expensive flower garden instead of a productive vegetable patch! What a faff that was.
Gathering the Right Tools for Hand Pollination
Right then, for the exciting bit: the tools! Forget fancy gadgets, honestly, all you really need for hand pollination is a small paintbrush, some cotton swabs, or even a pair of tweezers. I started with a cotton bud, then realised a slightly stiffer brush is a bit more effective. Live and learn, eh? Think of it as choosing the right writing implement – a biro for everyday pollination, a calligraphy pen for when you’re feeling fancy. Whatever you choose, make sure it’s clean. Spotless, even.
We don’t want any plant diseases spreading around like wildfire, do we? It’s like washing your hands before cooking – good hygiene is absolutely crucial! Give your chosen tool a wipe with some rubbing alcohol or a mild soap solution just to be on the safe side, you know. Studies by agricultural extension services recommend sterilising tools between different plant varieties to prevent cross-contamination of plant pathogens.
As for timing, it’s best to do your hand pollinating in the morning, naturally, when the flowers are freshly opened and the pollen is at its peak. It’s like catching the early bird – or, in this case, the early bee. No rest for the wicked, eh? Mid-morning is usually ideal because everything has had a chance to dry out a bit after the morning dew. Wet pollen can clump and make a bit of a sticky mess. A right nuisance, that. The fresher and drier, the better.
Optimal Environmental Windows
I’ve learned that the sweet spot, generally speaking, is usually between 8am and 11am, when temperatures are moderate (around 18-24°C) and humidity levels are optimal. Too hot, and the pollen becomes less viable. Too cool or humid, and it won’t transfer effectively. Simple as that. If you’re growing tomatoes in pots, you’ll find they’re particularly sensitive to these timing considerations.
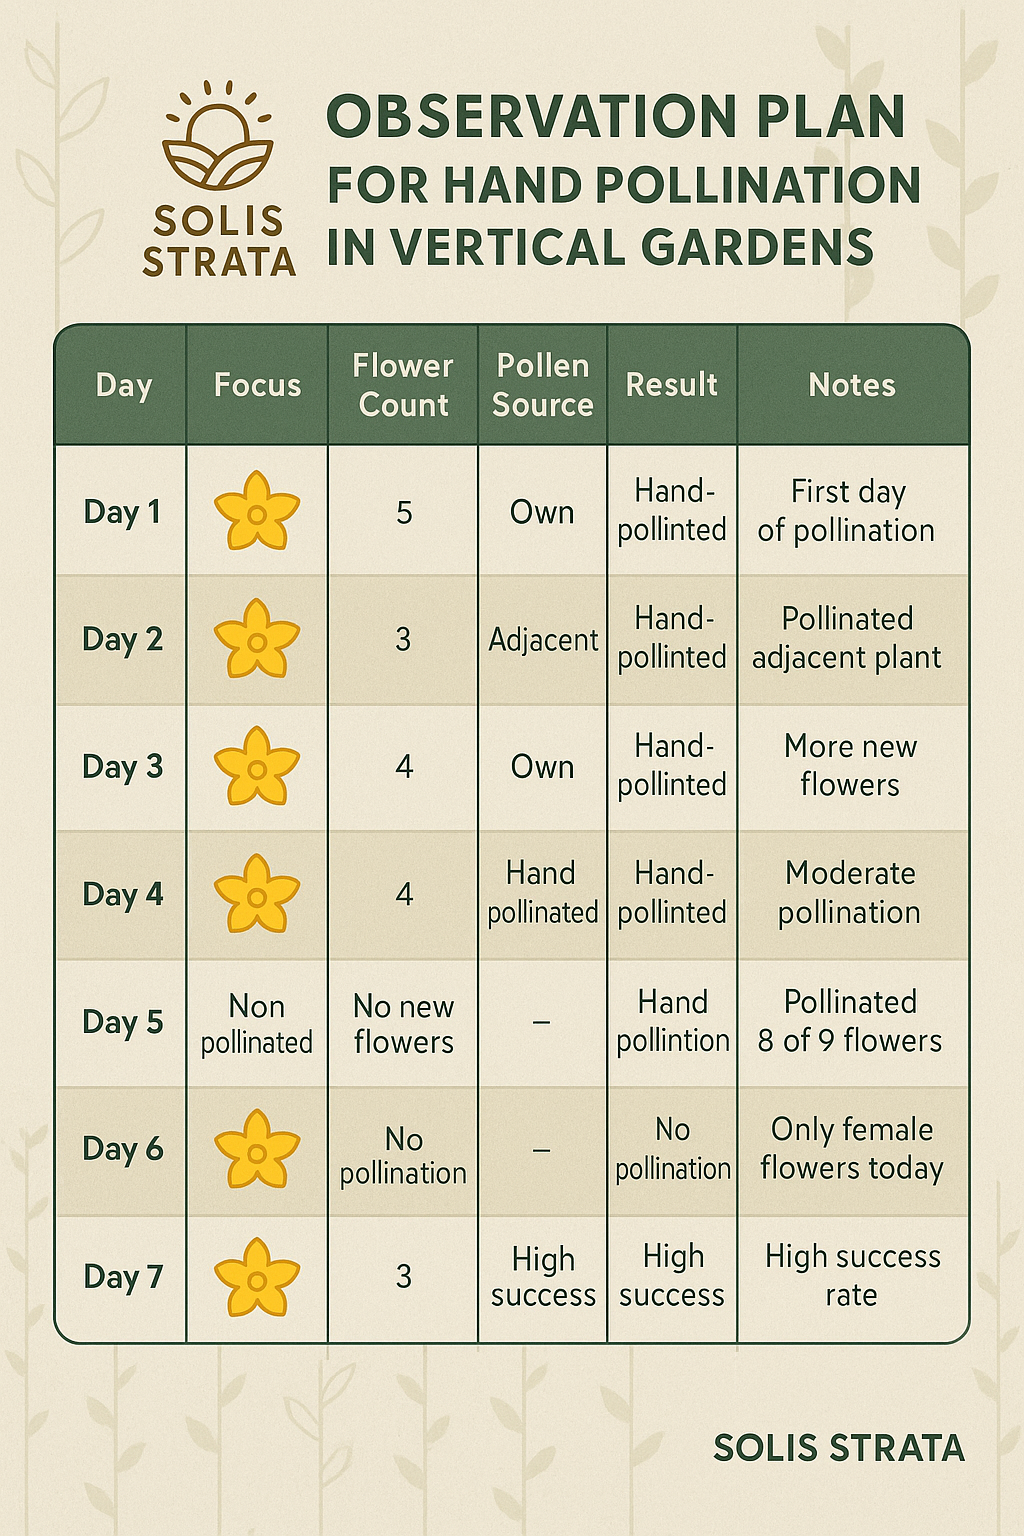
Methods & Evidence — An Observation Plan
This seven-day observation plan is an educational framework to help you refine hand-pollination in a vertical setup. Adjust timings and counts to suit your space, plants, and weather; treat these as learning prompts, not prescriptions.
- Day 1 — Baseline sweep (08:00–11:00): Log temperature (°C) and humidity (%), count newly opened male/female flowers, and note accessibility on the frame.
- Day 2 — Technique focus: Practice gentle stigma coverage on 2–4 female flowers per plant; mix pollen from 3–4 males.
- Day 3 — Timing trial: Repeat on similar flowers but 30–60 minutes earlier/later; compare early vs. late outcomes.
- Day 4 — Environment nudge: Improve airflow slightly (e.g., reposition a pot or open a screen) and record any changes in pollen pickup.
- Day 5 — Diversity check: Include another crop (e.g., cucumber or tomato vibration) and compare fruit set observations.
- Day 6 — Weather workaround: If rain/wind threatens, use light cover/netting; observe whether success rates hold steady.
- Day 7 — Review & iterate: Inspect 24–48h outcomes, tally swelling fruit, and note which timing/technique felt most reliable.
Evidence habit: After each session, jot quick notes (time window, flowers touched, method tweaks). Within 24–48 hours, mark any swelling fruit. Over a few cycles, simple charts will reveal what works best for your balcony.
Illustrative Teaching Table
Example data log for a small vertical squash/cucumber setup (illustrative values only):
| Day | Weather (°C / %RH) | Male : Female Flowers | Pollinated (count) | Observed Set at 24–48h (%) | Notes |
|---|---|---|---|---|---|
| 1 | 19 / 62 | 6 : 4 | 5 | 40–60 | Baseline; gentle brush; light breeze. |
| 2 | 20 / 55 | 7 : 5 | 6 | 50–70 | Mixed pollen from 3 males. |
| 3 | 18 / 68 | 5 : 4 | 5 | 40–60 | Later window (10:30–11:00). |
| 4 | 22 / 58 | 8 : 6 | 7 | 60–75 | Improved airflow; leaves tied back. |
| 5 | 21 / 50 | 6 : 5 | 6 | 55–70 | Added cucumber; similar method. |
| 6 | 17 / 72 | 4 : 4 | 4 | 35–55 | Light cover during drizzle. |
| 7 | 23 / 48 | 7 : 6 | 7 | 60–80 | Earlier start (08:15). |
| 8* | 20 / 60 | — | — | — | Review week; plan adjustments. |
Step-by-Step Guide to Hand Pollinating Squash Vertically
First things first, find those blossoms! Easy peasy. As I mentioned earlier, the female squash flowers have a tiny squash behind them, like a little bump. The male flowers are usually higher up on the plant and have that slender stalk. Once you’ve identified a male flower, gently dab the pollen with your chosen tool. You should see the yellow pollen sticking to it. If not, try another male flower – sometimes they can be a bit shy with their pollen, bless ’em.
Now, carefully transfer this pollen to the stigma of the female flower. This is where the magic happens. The stigma is the sticky bit in the centre of the flower. Think of it as the landing pad for the pollen. Crucial, that. Dab the pollen onto the stigma, ensuring good contact.
You want to make sure every part of that stigma is covered in pollen – imagine you’re painting her nails with tiny grains of yellow paint. A bit fiddly, but worth it. Don’t be too heavy-handed, but do be thorough. No half measures, eh? Once you’ve done the deed, you should see the female flower begin to close slightly over the next day or so. The tiny squash behind it should start to swell. If the flower wilts and the squash doesn’t grow, the pollination might not have been successful. A bit of a shame, that. You might need to have another go, or check for other issues, like pests or diseases. Always something, isn’t there?
Advanced Technique: The Multiple Source Method
For improved success rates, and who doesn’t want that? I collect pollen from several male flowers before transferring to females. This increases genetic diversity and improves fruit set. Simply rotate your brush through 3-4 different male flowers. Then, proceed to pollinate multiple female flowers with this mixed pollen load. Easy peasy, lemon squeezy.
Hand Pollination Techniques for Other Vertical Garden Vegetables
Squash isn’t the only vegetable that benefits from a little hand-pollinating action, oh no. Tomatoes, cucumbers, and peppers, among others, also appreciate a helping hand, especially in a vertical setup. Makes sense, doesn’t it? With tomatoes, you can gently shake the plant to help distribute pollen. Or, if you’re feeling particularly attentive, you can use a small paintbrush or even an electric toothbrush (yes, really! Don’t knock it ’til you’ve tried it!) to vibrate the flowers and release the pollen.
Cucumbers are a bit more like squash, you see, with separate male and female flowers. The same paintbrush or cotton swab method works wonders here. Simple, yet effective. For cucumber success in vertical container gardening, focus on the early morning pollination window when flowers are most receptive.
Peppers, on the other hand, are self-pollinating, meaning they don’t necessarily need your help. Lucky things! But a little gentle shaking can still improve fruit set and prevent those frustrating, half-formed peppers. It’s important to recognise the specific pollination requirements of different vegetable types, naturally.
Understanding Plant-Specific Needs
While the basic principles are the same, there are nuances to each plant. Always something new to learn, eh? Do a bit of research on the specific vegetables you’re growing in your vertical garden. Some might need a bit more attention than others. A bit like children, really. For instance, if you’re wondering what vegetables grow best in a vertical garden, pollination requirements should definitely factor into your selection.
A general tip for success? Pay attention to the flower structure. Where is the pollen located? Where is the stigma? Ask yourself that. Once you understand the anatomy of the flower, you can adapt the hand pollination method accordingly. Research from Cornell University provides detailed flower anatomy guides for common vegetable crops.
Troubleshooting Common Hand Pollination Challenges
Sometimes, despite your best efforts, hand pollination doesn’t quite go to plan. Happens to the best of us. Maybe the pollen transfer wasn’t effective, or the weather decided to throw a tantrum. Typical, eh? If you’re having trouble with poor pollen transfer, double-check that your tools are clean and dry. Damp pollen can clump and be difficult to work with. A right sticky mess, that. Also, make sure you’re getting enough pollen onto the stigma. Think of it as applying enough butter to a slice of toast – you want a good, even coverage! No skimping now.
Adverse weather conditions, like heavy rain or strong winds, can also disrupt pollination. If the weather’s being a bit dramatic, as it often is, try to protect your plants with some netting or cover, or wait for a calmer day to do your pollinating. Patience is a virtue, after all. This is where learning how to protect your balcony garden from strong winds becomes invaluable.
Diagnosing Pollination Problems
Signs of unsuccessful pollination include wilting flowers and a lack of fruit development. If you spot these tell-tale signs, revisit your technique. Don’t fret, just reassess. Are you getting enough pollen onto the stigma? Are you pollinating at the right time of day? Are there any pests or diseases lurking that could be sabotaging your efforts? All good questions to ask yourself.
One common mistake, I’ve found, is not pollinating enough flowers. Don’t just pollinate one or two and hope for the best. That’s a recipe for disappointment, that is. Aim to pollinate several flowers on each plant to increase your chances of success. Remember, patience is a virtue. And a bit of a necessity here! Hand pollination can be a bit fiddly, but with practice, you’ll become a pollination pro in no time. Chuffed, you’ll be!
Expert Tip: I once spent an entire season wondering why my pollination success was so inconsistent, only to discover that aphids were interfering with flower development. Always check for common vertical garden problems that might be undermining your pollination efforts. It’s often the little things, isn’t it?
Alternative Pollination Methods for Challenging Situations
When traditional hand pollination proves tricky, and it sometimes does, there are several backup strategies I’ve developed over the years. For plants growing in particularly awkward positions—say, the top tier of your vertical setup—you might need to get creative with longer-handled brushes or even small mirrors to see what you’re doing. A bit of ingenuity goes a long way!
During periods of extended poor weather, which we get plenty of here, I create temporary mini-greenhouses using clear plastic sheeting around flowering sections. This protects the delicate pollination process while maintaining the controlled environment necessary for success. Every little helps, as they say. University of California research supports this approach for maintaining optimal pollination conditions.
Maximising Your Vertical Garden’s Yield Through Hand Pollination
Once you’ve got the hang of hand pollination, and you will, you can start to refine your technique and maximise your vertical garden’s yield. Keep a little notebook or use a gardening app to track your efforts. Note down which plants you’ve pollinated, when, and how many flowers. This can help you identify patterns and optimise your pollination schedule. Remember, what works for one plant may not work for another. It’s not a one-size-fits-all, is it?
Don’t just rely on hand pollination, mind you. Combine it with other vertical gardening best practices, like proper watering, fertilising, and pest control. Think of it like a recipe – you need all the ingredients to make a delicious dish, or in this case, a bountiful harvest. No shortcuts to success, eh? Consider implementing automatic drip irrigation to maintain optimal growing conditions alongside your pollination efforts.
Creating a Pollination Schedule
The long-term benefits of regular hand pollination are absolutely worth the effort. By ensuring consistent pollination, you’ll enjoy a steady supply of fresh, homegrown vegetables throughout the growing season. Proper satisfying, that is. I recommend creating a weekly pollination schedule, particularly during peak flowering periods. This systematic approach, combined with proper organic fertilisation, can dramatically improve your harvest yields.
It’s like having your own little greengrocer right outside your door, only fresher and much more satisfying. Plus, you can brag to all your friends about your impressive vertical gardening skills! Go on, you’ve earned it.
Conclusion
Hand pollination is a game-changer for vertical gardeners, truly. By taking control of the pollination process, you can ensure a bountiful harvest, even in a limited space. From identifying male and female flowers to mastering the transfer of pollen, this guide has equipped you with the knowledge and skills to hand pollinate your squash and other vegetables successfully. You’re all set!
Want my printable ‘Pollination Cheat Sheet’ to take out to the balcony with you? It has close-up pictures of male and female flowers for squash, cucumbers, and tomatoes so you’ll never be in doubt again. Promise. Tap below and I’ll send it straight to your inbox—it’s my secret weapon for a successful harvest.
Whether you’re just starting a thriving balcony garden or looking to optimise an established vertical setup, these techniques will serve you well. Now it’s your turn to put these techniques into practice. Go on, give it a go! I’d love to hear about your experiences – share your tips and triumphs in the comments below! We’re all in this together, after all.
Sources
- Royal Horticultural Society (RHS)
- GOV.UK (Plant Health and Biosecurity)
- Agriculture and Horticulture Development Board (AHDB)
- Met Office (UK)
Disclaimer
This article is an educational example only and not a substitute for professional horticultural advice.
Frequently Asked Questions
How often should I hand-pollinate my vertical garden vegetables?
I recommend checking your plants every 2-3 days during flowering season and hand-pollinating any newly opened female flowers. The key is consistency rather than intensity, you see—regular, gentle pollination sessions yield much better results than sporadic marathon pollinating sessions.
Can I hand-pollinate vegetables in the evening instead of morning?
While morning is ideal, evening pollination can work if morning isn’t practical for you. No worries there. I’ve found that late afternoon (around 4-6pm) is your second-best window, when flowers are still receptive but before they begin closing for the night. Avoid midday when it’s too hot and humid. A bit of a waste of time, that.
What should I do if my male and female flowers aren’t blooming at the same time?
This is actually quite common! Don’t panic. I collect pollen from male flowers and store it in a small, dry container in the fridge for up to 24 hours. You can also gently remove male flowers and use them directly—just brush the stamen directly onto the female flower’s stigma. A bit brutal, perhaps, but effective!
How can I tell if my hand pollination was successful?
Within 24-48 hours, you should see the female flower begin to close and the tiny fruit behind it start swelling. If the flower wilts and the fruit shrivels, the pollination wasn’t successful. Don’t worry—it takes practice, and even experienced gardeners have failures. We all do, honestly.
Should I remove male flowers after collecting pollen from them?
Not necessarily! Good question, though. I leave male flowers on the plant unless I’m dealing with space constraints. They continue producing pollen over several days and can serve as backup sources. Handy, that. However, if you’re growing in a very compact vertical setup, removing spent male flowers can redirect the plant’s energy toward fruit production.
How to Hand-Pollinate Vegetables: Step-by-Step Guide
Step 1: Identify Your Flowers (Morning Setup)
I always start by doing a flower inventory around 8am when they’re freshly opened. Bright and early, you see. Look for the telltale signs: female flowers have tiny fruits behind them, while males have thin, straight stalks. Take a moment to count how many of each type you’re working with—this helps you plan your pollination strategy. A bit of planning goes a long way.
Step 2: Collect Your Pollen
Using a clean, dry paintbrush or cotton swab, gently dab the center of male flowers where you can see the yellow, powdery pollen. I usually work through 3-4 male flowers to get a good pollen load on my brush. You’ll know you’ve got enough when the brush tip looks distinctly yellow and fuzzy. Can’t miss it!
Step 3: Transfer to Female Flowers
Now comes the crucial bit, the main event!: carefully dab the pollen-loaded brush onto the sticky stigma in the center of each female flower. I make sure to cover the entire stigma surface—think of it like applying lip balm, you want complete coverage. No patchy bits! Be gentle but thorough.
Step 4: Mark and Monitor
I use small plant tags or even just a piece of colored string to mark pollinated flowers. This helps me track success rates and timing. Very useful, that. Within 2-3 days, you should see the fruit behind successful pollinations beginning to swell noticeably.
Bob is a UK-based teacher who brings his passion for simplifying complex topics to the world of small-space and container gardening. All his advice comes from years of hands-on experience, helping UK gardeners get the most out of their balconies and patios. You can read his full story on the About the Author page.