

So, can you actually grow tomatoes on a UK balcony? Absolutely. But it’s less about luck and more about strategy. Get the right plant, the right pot, and the right position, and you’re halfway to tomato heaven. The rest is just a bit of watering, feeding, and knowing what to do when things get a bit… British.
Key Insights
- Stick to bush tomato varieties like Tumbling Tom or Sub-Arctic Plenty – they’re your best bet for a UK balcony.
- Don’t skimp on the pot. A big 20-litre+ one with good, peat-free compost (and a bit of perlite) makes for a much happier plant.
- Got a sheltered balcony? You might need to play bee. A gentle shake of the stems helps with pollination when there’s no wind.
- Dodge the dreaded blight by picking resistant varieties. And don’t worry about green tomatoes at the end of summer – there’s a trick for that.
Quotables
- A single, thriving tomato plant needs a non-negotiable 20-litre+ pot to support its root system.
- Start weekly feeding with tomato feed only after the first 2-3 yellow flowers appear.
- A single large, wet pot can weigh over 40kg, so always be mindful of your balcony’s load.
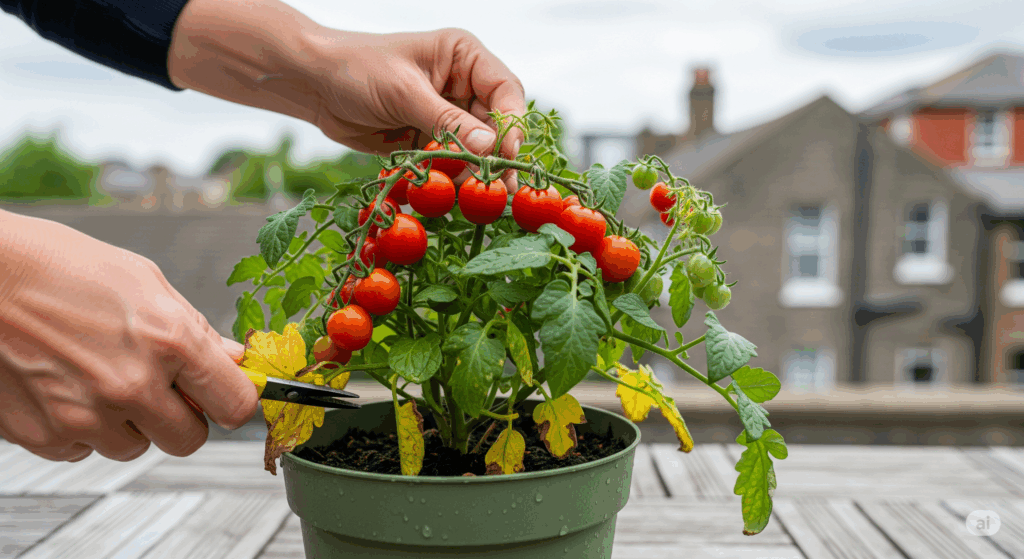
Hello there. Let’s talk about growing tomatoes on a balcony in the UK. If you’re anything like me, you have this idyllic vision, don’t you? Stepping out on a warm July evening, plucking a perfectly ripe, sun-warmed tomato from your own plant. It’s the dream.
Then, reality hits. And in the UK, that reality is often a windswept fifth-floor balcony in Manchester, four days of solid rain in August, and plants that grow long and spindly, reaching desperately for a sun that seems permanently on holiday elsewhere. Sound familiar?
I’ve been there. My first attempt involved a beautiful ‘Moneymaker’ plant that, thanks to a gust of wind and a pathetically small pot, promptly snapped in half. A bit of a faff, and a sad, expensive lesson. But it taught me that success isn’t about luck or having a “green thumb.” It’s about strategy. Specifically, it’s about getting what I call the “Balcony Trinity” right: the right Plant, in the right Pot, in the best possible Position.
Forget what you’ve seen on Californian Instagram feeds. This is the real guide to getting a harvest you can be proud of, right here in the unpredictable UK.
The Most Important Choice: Picking a Tomato Plant That Won’t Hate You
This is where most beginners go wrong. You walk into a garden centre, see a lush-looking plant, and take it home. But not all tomato plants are created equal. For a balcony, you need to be picky.
First, understand the two main types:
- Cordon (or Indeterminate): These are the tall, vine-like ones that grow upwards forever, like a triffid in slow motion. Brilliant in a greenhouse, but an absolute nightmare on a windy balcony. Avoid. Seriously.
- Bush (or Determinate): These champions grow to a fixed, compact size, give you a lovely flush of tomatoes, and then they’re pretty much done. No fuss. This is what you want.
Here are some fantastic bush varieties that are proven to work on UK balconies:
- For the “Sun-Starved” Balcony: If you get less than six hours of direct sun, don’t despair. Look for varieties bred for cooler, shorter seasons. Glacier and Sub-Arctic Plenty are famed for setting fruit in cooler temperatures. You won’t get a monster harvest, mind you, but you will get a harvest.
- For the “Wind-Tunnel” Balcony: If your balcony feels like a wind trap, you need something short and sturdy. Tumbling Tom (red or yellow) is the king here. It’s designed to cascade over the sides of a pot or hanging basket, like a green waterfall. Naturally low-profile. Balconi Red is another compact, well-behaved gem.
You can buy these as young plants from a garden centre in May, or grow from seed indoors from March if you’re feeling adventurous. For a beginner, buying plants is the easiest way to start.
Expert Tip: I always keep a spare plant tucked in a small pot as “insurance.” If one gets snapped by wind or attacked by pests, I’ve got a replacement ready to step in without losing the season. I learned that one the hard way.
(See also: The best dwarf fruit trees for pots in the UK)
Your Plant’s Home: Choosing the Right Pot & Compost
Right then, the pot. Your plant’s pot isn’t just a container; it’s their entire world. Getting it right is non-negotiable.
- Pot Size: I know it’s tempting to use a small, pretty pot, but please don’t. It’s a fatal error. Tomatoes have huge root systems and get very thirsty. The golden rule is one plant per pot, and the pot should be at least 20 litres. Think of a standard DIY paint bucket – that’s the sort of size we’re talking about. Honestly, this one change will solve half your problems before they even start.
- Pot Material: Terracotta looks lovely, but it dries out very quickly, and a thirsty plant is a stressed plant. On a warm or windy day, you’ll be watering constantly. A simple plastic pot is often the more practical and forgiving choice as it retains moisture much better. If you must use terracotta, stand it inside a larger waterproof container.
- The Compost: Don’t just use soil from the garden. You need a dedicated potting mix. The simplest, most effective recipe? Good quality peat-free multi-purpose compost with a handful of perlite chucked in (about 10–20%). The perlite stops the compost from turning into a soggy brick. Clever, right?
CRUCIAL: Whatever pot you use, make sure it has drainage holes at the bottom. If it doesn’t, drill some yourself. Sitting in water is a tomato plant’s worst nightmare.
(Helpful read: Best soil mix for vertical container gardening)
For authoritative detail, the Royal Horticultural Society stresses that proper drainage is essential to prevent root rot in tomatoes.
Methods & Evidence — An Observation Plan
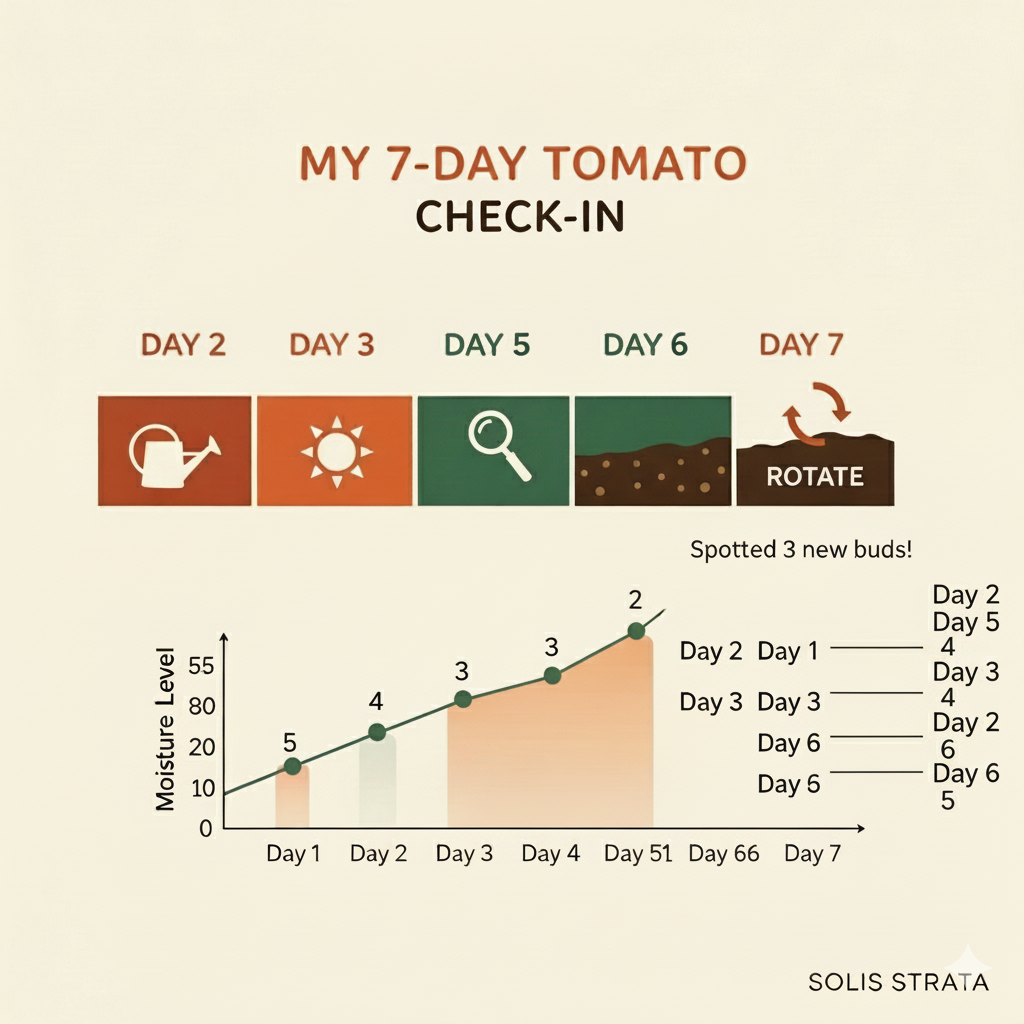
Success comes from noticing the small things. Instead of guessing, try this simple 7-day observation plan when your plant is established. It helps you build a routine and understand what your plant is telling you. This is just an educational example to get you started.
- Day 1: Baseline Check. Give the plant a good water. Note the pot’s weight, the leaf colour, and the soil look. This is your “happy plant” baseline. Spend 5-10 minutes just looking.
- Day 2: Light Audit. Check on the plant every hour or so. How many hours of direct sun is it actually getting? You might be surprised. Aim to get a rough count between 4 and 6 hours.
- Day 3: First Water Check. Time for the finger dip test. Push your finger an inch into the compost. Is it dry, slightly damp, or wet? Don’t water unless it’s starting to feel dry. Note your findings.
- Day 4: Pest & Disease Scan. Take 5-10 minutes to look closely. Check underneath the leaves and around the main stem for any aphids (tiny green or black insects) or fuzzy spots. Catching things early is key.
- Day 5: Growth Observation. Has anything changed? Look for new, tiny leaves, small flower buds forming, or flowers opening. This is a sign your routine is working.
- Day 6: Second Water Check. Repeat the finger dip test. How does it compare to Day 3? This helps you learn your plant’s drinking rhythm, which changes with the weather. Water thoroughly if it’s dry.
- Day 7: Review & Rotate. Look back at your notes for the week. Turn the pot 180 degrees to ensure all sides get some sun. You’re now more in tune with your plant’s needs.
Illustrative Teaching Table
| Day | Observation Task | Time Spent (mins) | Soil Moisture (1=Dry, 5=Wet) | Sunlight Hours Noted | Notes |
|---|---|---|---|---|---|
| 1 | Baseline Check & Water | 10 | 5 | N/A | Plant looks healthy, leaves are a vibrant green. |
| 2 | Light Audit | 5 | 4 | ~5.5 hours | Direct sun from 10:30 AM to 4:00 PM. Good spot. |
| 3 | First Water Check | 2 | 3 | N/A | Soil is still damp an inch down. No water needed. |
| 4 | Pest & Disease Scan | 10 | 3 | N/A | Found two tiny aphids on one leaf, removed by hand. |
| 5 | Growth Observation | 5 | 2 | N/A | Three new flower buds spotted near the top. |
| 6 | Second Water Check | 5 | 2 | N/A | Soil feels dry. Watered thoroughly until it drained. |
| 7 | Review & Rotate | 5 | 5 | N/A | Plant responded well to water. Rotated pot 180°. |

The Day-to-Day: Your Balcony Care Routine
Once you’re set up, it’s all about a routine. Plants are creatures of habit, after all.
- Watering, Demystified: Forget watering on a strict schedule. Pointless in the UK. The weather dictates everything. The only reliable method is the “finger dip” test. Stick your finger about an inch into the soil. If it comes out dry, it’s time to water. If it’s damp, leave it for another day. When you do water, do it thoroughly until you see it running out of the drainage holes. This encourages deep roots.
- Feeding: Your plant will have enough food in its compost for the first few weeks. Once you see the first tiny yellow flowers appear, it’s time to start feeding. Use a liquid tomato feed (like Tomorite) once a week, following the instructions on the bottle. Think of it as a weekly vitamin boost to help it get on with the business of making tomatoes.
- Positioning: Even a north-facing balcony gets some light. Your job is to maximise it. Place your pot in the brightest spot. If you have a light-coloured wall, put the pot next to it to reflect extra light and warmth back onto the plant. It’s also a good idea to rotate the pot every few days so all sides get a bit of sun.
For lighting in darker homes, you may also explore best grow lights for indoor vertical gardens.
The UK Balcony Gardener’s Rogues’ Gallery: Common Problems & Fixes
Don’t panic when things look a bit off. Here’s how to diagnose and fix the most common issues.
- Problem 1: My Plant is All Stem, No Fruit (“Leggy”)
Cause: Not enough light. The plant is stretching to find the sun.
Solution: You can’t reverse it, but you can prevent it from getting worse. Move it to the absolute brightest spot you have. If you grew from seed, it means they needed more light as seedlings. - Problem 2: My Flowers Are Doing a Disappearing Act
Cause: Usually a stress response. The plant is having a bit of a strop. It could be inconsistent watering, a sudden cold snap, or just not enough buzz on a sheltered balcony.
Solution: Check your watering routine. To help pollination, you have to play the part of the bee. Just give the main stem a gentle tap or shake once a day when the flowers are open. It does the job of the wind and gets that pollen moving. How to hand-pollinate vegetables offers more detailed methods. - Problem 3: The Dreaded Blight!
Cause: A fungal disease that thrives in damp, warm weather – a speciality of the British summer.
Solution: Look for brown patches on leaves and stems. Unfortunately, it’s incurable. Remove the affected plant immediately to prevent spread and do not compost it. Next year, choose a blight-resistant variety like Ferline or Losetto. (See UK government plant health guidance for updates on managing outbreaks.) - Problem 4: It’s October and My Tomatoes are Stubbornly Green!
Cause: Not enough warmth and sun to ripen them before the season ends.
Solution: Don’t let them rot on the vine! Once the first frost is forecast, pick all of them. Place the green tomatoes in a cardboard box or paper bag with a ripe banana. The banana releases ethylene gas, which is nature’s magical ripening agent. Works a treat. Keep them at room temperature, and you’ll have red tomatoes for weeks to come.
Your First Harvest & Beyond
There will come a day, probably in late July or August, when you see the first blush of red. Leave it on the plant until it is fully and richly coloured. The flavour will be a thousand times better. Honestly, that feeling of eating something you’ve nurtured from a tiny plant is what this is all about. Properly chuffed, you’ll be.
At the end of the season, once you’ve harvested everything, put the old plant in your green waste bin. Don’t be tempted to re-use the compost for tomatoes next year; it can harbour diseases. Start fresh. You’ve earned it.
(Extra tip: 15 common balcony gardening mistakes has useful pitfalls to avoid for your next season.)
Frequently Asked Questions
How do I protect my plants from strong wind?
Use sturdy bush varieties. You can also create a temporary windbreak using balcony netting or a small piece of trellis. Grouping several pots together can also add stability. (How to protect balcony garden from strong winds)
Can I grow tomatoes on a north-facing balcony?
Right, I’ll be honest, it’s tough. You won’t get a huge crop. But if you choose a very early, cold-tolerant variety like Sub-Arctic Plenty and give it the brightest spot possible, you can still get a small, precious harvest. It’s worth a try!
What do I do if I’m going on holiday for two weeks?
Ah, the classic holiday problem! The best solution is a simple drip-irrigation system, or ask a kind neighbour. Failing that, give the plant a massive soak before you go and move it to the shadiest part of the balcony to slow water loss. (See best automatic drip irrigation kits)
Do I need to worry about the weight of my pots?
Oh, yes. A single 40-litre pot with wet soil can weigh over 40kg—heavier than a sleepy Labrador. If you have several, the weight adds up. If you are renting or live in an older building, it’s wise to check your tenancy agreement or consult a professional if you plan a large-scale setup. Stick to the edges of the balcony where support is strongest.
Can tomatoes help attract pollinators?
Yes—tomatoes benefit from pollination, though they’re self-fertile. Pairing them with flowers on your balcony (see bee-friendly balcony garden) can encourage more insect activity, which improves yields.
HowTo: Step-by-Step Tomato Success on a Balcony
- Choose the Right Variety – Select a bush type such as Tumbling Tom or Balconi Red.
- Prepare Your Pot – Use a 20-litre+ plastic pot with drainage holes.
- Mix the Compost – Combine peat-free compost with 10–20% perlite for aeration.
- Position for Maximum Light – Place in the brightest spot and rotate regularly.
- Water & Feed Wisely – Use the finger dip test and add liquid tomato feed weekly after flowering.
- Assist Pollination – Tap stems daily during flowering if wind is limited.
- Monitor for Problems – Watch for blight, flower drop, and legginess.
- Harvest Fully Ripened Fruit – Pick only when deep red for the best flavour.
- End of Season Care – Remove old plants, refresh compost, and plan for next year.
Sources
- Royal Horticultural Society (RHS)
- Garden Organic
- Department for Environment, Food & Rural Affairs (DEFRA) – UK Plant Health Information Portal
Disclaimer
This article provides an educational example of a gardening plan. All data, including the observation table, is for illustrative purposes only. Always adapt your gardening practices to your specific location, plant variety, and local conditions.
Want my printable ‘Balcony SOS’ checklist? It covers your month-by-month tasks and has a quick diagnostic chart for when things go wrong. Tap below to get it via email—it’s my secret weapon for a successful harvest.
Look, growing your own food, no matter how small the scale, is one of life’s great pleasures. It connects you to the seasons and gives you a new appreciation for what it takes to make food. Don’t aim for perfection; aim for a handful of delicious, home-grown tomatoes. I promise you, it’s worth every bit of the faff.


Bob is a UK-based teacher who brings his passion for simplifying complex topics to the world of small-space and container gardening. All his advice comes from years of hands-on experience, helping UK gardeners get the most out of their balconies and patios. You can read his full story on the About the Author page.